Creating Posts and Pages in WordPress
Understanding Posts in WordPress
Posts in WordPress are dynamic entries, typically used for blogs, news, or articles, displayed in reverse chronological order on your site’s homepage.
When to Use Posts
Posts differ from static pages. They’re ideal for sharing updates, stories, or articles, rather than static information like on a “Homepage” or “About Us” page.
Steps to Create a Post
- Go to your WordPress Dashboard.
- Hover over the “Posts” link on the left menu.
- Click “Add new” from the displayed menu.
- Add your content, then click “Save Draft” in the top-right corner.
- When ready, click “Publish…”.
- Choose post visibility (Public, Private, Password Protected).
- Set when to publish (Now or schedule for later).
- Click “Publish” to make your post live.
- Add categories/tags with keywords to describe your post.
Writing and Formatting Using the Text Block Feature

Adding a Text Block
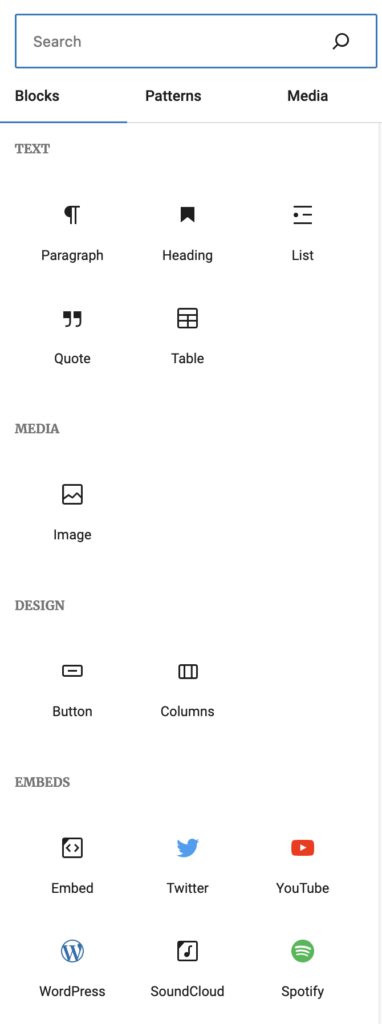
- Click the “+” (Add Block) button in the Gutenberg editor.
- Select the “Text” block from the options.
Using Headers
- Within the text block, click the “H” icon for headers.
- Choose your desired header size (H1, H2, H3, etc.).
- Type your header text.
Adding Paragraphs
- Click below your header or in a new text block.
- Simply start typing to add a paragraph.
- Use the toolbar for text formatting (bold, italic, etc.).
Inserting Images and Media
- Click the “+” button and select “Image” or “Media & Text” block.
- Upload or select an image/media from your library.
- Use the block options to align and size your image/media.
Inserting and Customizing Tables
- Click the “+” button and choose the “Table” block.
- Select the number of columns and rows for your table.
- Fill in the table cells and use the block settings to style the table.
Using Categories and Tags
- On the post editing screen, locate the “Categories” and “Tags” section on the right sidebar.
- Check the boxes to select existing categories or type to add new ones.
- Add tags by typing them into the “Tags” field and pressing enter.
Finalizing and Publishing
- Review your content for accuracy and formatting.
- Click “Publish” or “Update” to make your changes live.
Understanding Pages in WordPress
In WordPress, there are two main types of content: “pages” and “posts”. Use “posts” for blog entries, news, or other chronological content (see “Creating Posts” for more). “Pages” are for static, timeless information, like an “About” page or a “Contact” page.
When to Use Pages
Pages differ from dynamic posts. They’re ideal for sharing content that remains relevant and doesn’t change often. They help organize your website and are not part of a chronological blog sequence. They are commonly used in “About,” “Contact,” or your website’s “Homepage.”
Steps to Create a Page
- In your WordPress Dashboard, find the “Pages” link on the left-hand menu.
- Click “Add new” from the menu.
- Add your content to the page, then click “Save Draft” in the top-right corner to save.
- When ready, click “Publish…”.
- Choose the page’s visibility (Public, Private, or Password Protected) and set the publishing time (now or later).
- Click “Publish” to make your page live on the site.
